Ultimate UnWrap3D
Tutorial
Carl E. Schou
September 30, 2003
Page 4 - Mapping by
Box, Cylindrical, and Face
|
|
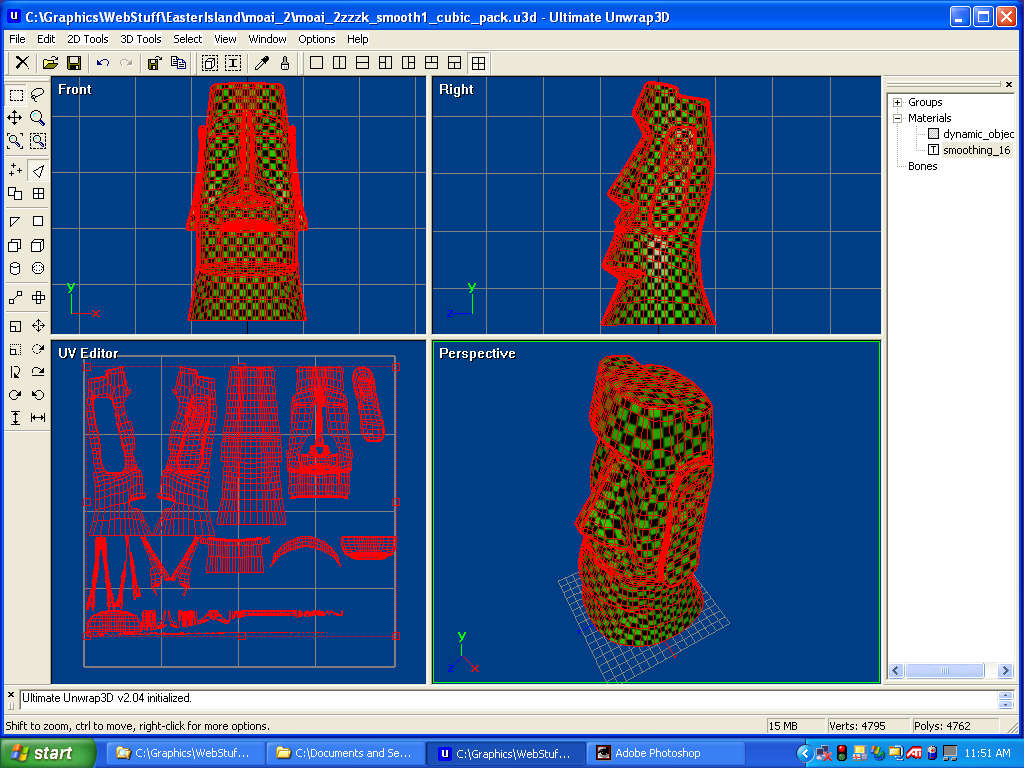
Box or Cubic Mapping
With the model selected, click on 2D
Tools > UV Mapping > Box to apply the Box or Cubic mapping shown
below. Click on the image to see a larger 1024 by 768 pixel
version.
|
|
|
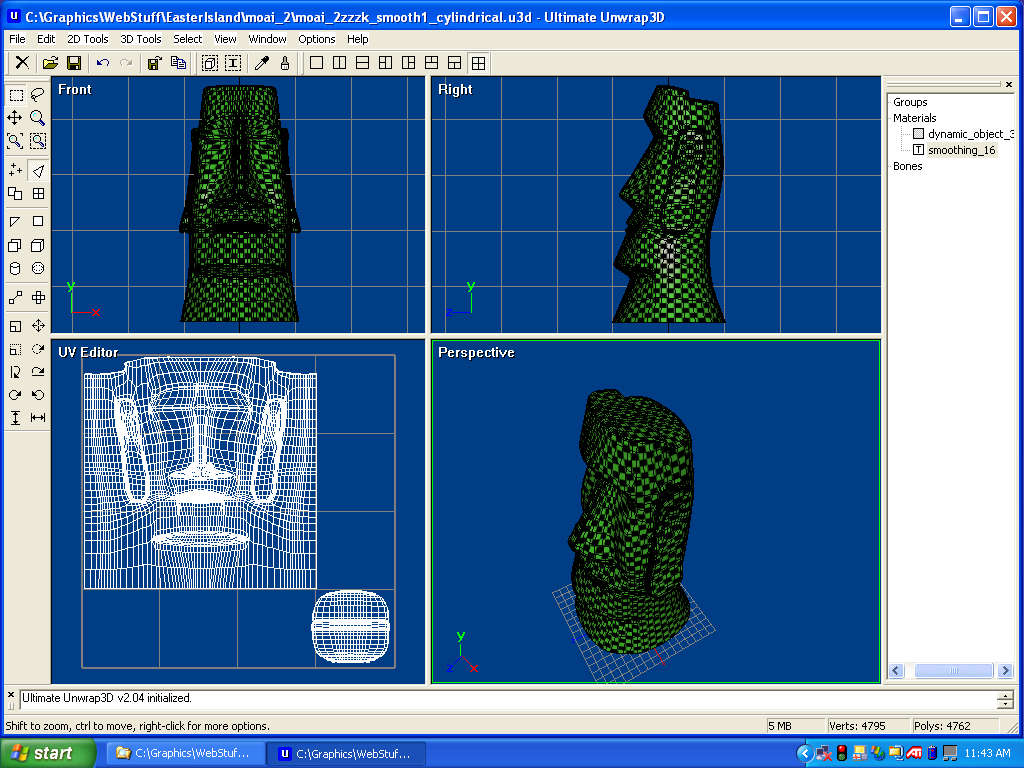
Splitting the
Mapping Modes into Cubic and Cylindrical
The top of the statue’s head is flat and in
3 sections. The cubic
mapping mode works well for these parts, so we’ll separate their
UVs from the rest of the model and try applying cylindrical
mapping to the remainder of the head. The three head top parts were selected and moved outside the
image box, since the cubic mapping fit them very well. With the three head top parts still selected, the selection
was inverted and cylindrical mapping was applied to the rest of
the model. Axis Alignment
was set to Y and Seam Rotation was set to 180 degrees to place the
texture seam at the back of the head. The
cylindrical mapping was scaled down in size too allow room for the
cubic mapped head top parts within the texture box.
The image below shows the Cubic/ Cylindrical mapped model.
Click on the image to see a larger 1024 by 768 pixel version. |
|
|
Face Mapping
Face mapping is one of the few mapping modes
free of distortion or overlap, but it also produces a template
very difficult to paint over unless you have a painting program
that allows projection painting onto a 3D model.
Programs like Deep Paint 3D, Maxon’s Body Paint, and
TrueSpace can handle projection painting.
The
image below shows the Face mapped model.
Click on the image to see a larger 1024 by 768 pixel version.
|
[RETURN TO TUTORIALS]
Copyright © 2003,
Carl E Schou, All Rights Reserved |