Fractal Art with XenoDream
Carl E Schou
March 31, 2002
| |
|
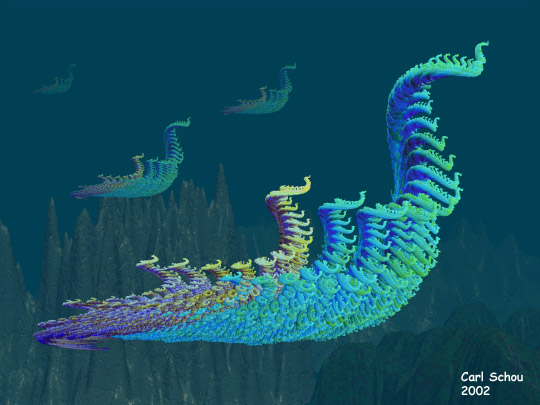
The Lords of
the Sunless Sea
Looking for something different to use in
your art work? XenoDream is an intuitive program for
generating fractal images. You can build the entire image in
XenoDream, or you can incorporate the image into other applications,
as was done here with Bryce 5. |
| |
|
What are Fractals?
Fractal geometry is a branch of
mathematics using simple repeating formulas to generate patterns
that repeat at all scales throughout an image. As you zoom in
on the image, you can see that the shape of the small details are
based on the larger shapes that preceded them. |
| |
|
What You Can Do With
XenoDream XenoDream
allows the user to generate fractal art without ever getting near an
equation. You work with building blocks called "Holons".
It is the interaction between these Holons that builds up your
image. You can either build up your image from scratch, or you
can use one of the files in XenoDream's library as a starting point
for your own work. Once you have rendered the fractal, you can
apply a wide variety of 3D lighting presets to make the finished image.
The latest version of XenoDream allows the user to export the
rendered fractal as a depth map which can be used to generate a 3D terrain in
applications such as Bryce or Vue d'Esprit. You can also apply
depth and 3D lighting to imported 2D images. |
| |
|
Building With Holons
To build and shape a fractal, you need to
manipulate Holons. This is done by changing the position,
rotation, shape, or size of one or more of the Holons. To
demonstrate the process, we'll start with one of the sample fractals
supplied with XenoDream and modify it into something completely
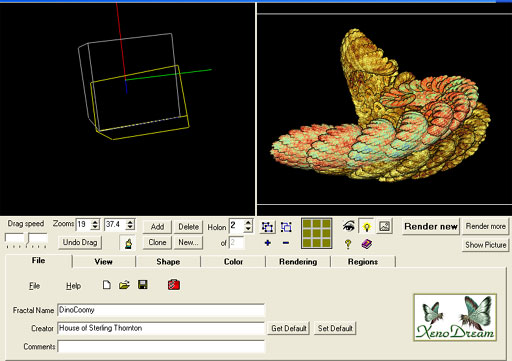
different. Start up
XenoDream, click on File>Open and select the fractal called
"DinoCoomy" in the folder XenoDream\Data\Organic. You should
see something like the image below. |
| |
|
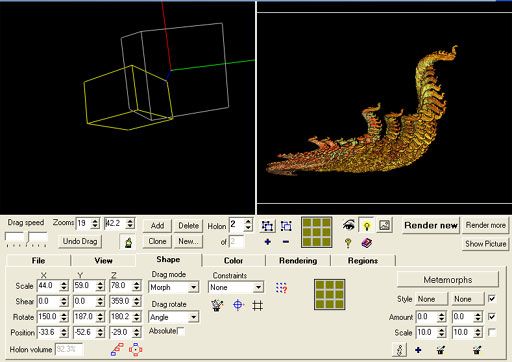
The Holon window is on the left and the Preview
window is on the right. This fractal is made up of 2 Holons
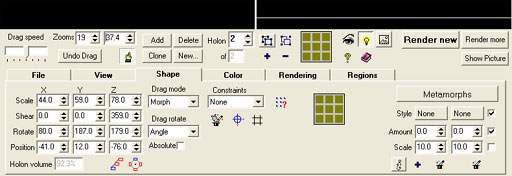
and the second Holon (in yellow) is selected. Click on the
"Shape" tab and the control panel will change as shown below. |
| |
|
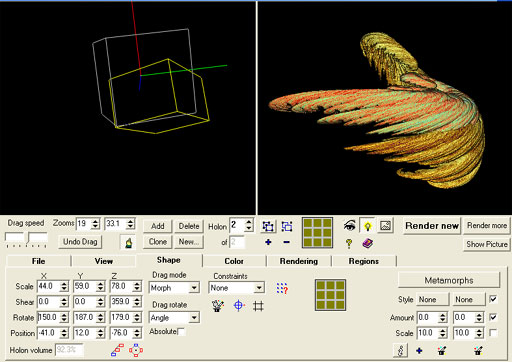
You can alter the shape of the fractal by modifying
the Holons used to generate it. In the image below, the second
Holon was rotated on the X-axis. I used the numeric entry, but
you can also adjust the Holon directly by dragging it with your
mouse. |
| |
|
Further adjustment of the second Holon's rotation
and position produces the image below. |
| |
|
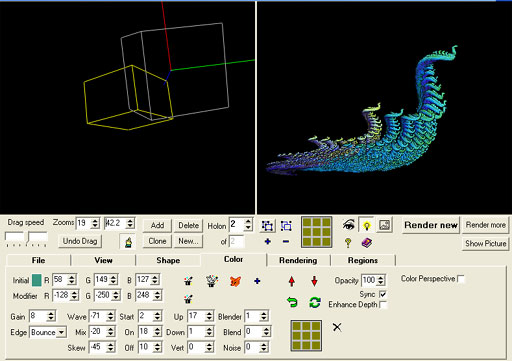
Adjusting
Fractal Colors When
you're satisfied with the shape of your fractal, click the color tab
to access the color controls. You can manually enter color
values, or you can click the magic wand to randomize colors and stop
when you get something you like. |
| |
|
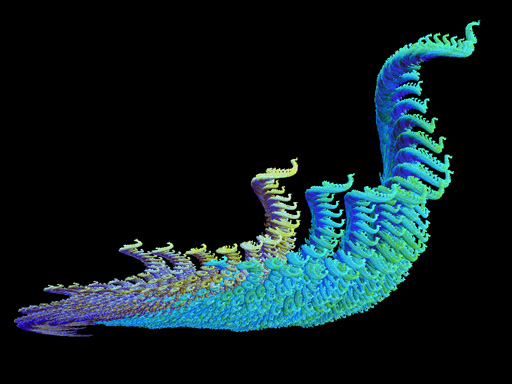
Rendering Your
Fractal Click the
"Render New" button to start building the fractal. You'll see
a number counting down as detail increases. When you're
satisfied with the level of detail, click the stop button (it looks
like a stop sign) and save the picture. The finished render is
shown below. |
| |
|
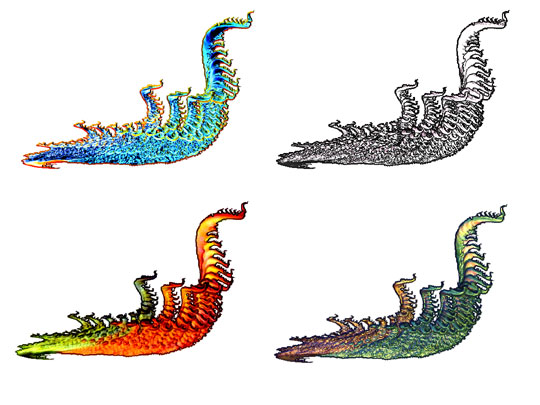
Lighting The Image
If you want to further
enhance your fractal, you can add illumination. From the
rendering window, click the lighting button and you'll be able to
choose between 372 lighting presets. Shown below, clockwise
from top left are Airbrush, Art Pen, Art Renoir, and Art Watercolor
lighting. |
| |
|
The Rest of the
Picture The image at
the top of this tutorial, "The Lords of the Sunless Sea", was
created using the finished render as a Pict object in Bryce.
The alpha channel for the Pict object was produced using Photoshop.
The sea mounts are terrains with a wet mud texture applied and the
water effect was produced by intensifying the haze and giving it a dark
blue-green color. |
[RETURN TO TUTORIALS]
Copyright © 2002,
Carl E Schou, All Rights Reserved |